Wednesday, February 1, 2012

I Love Me Some Birthday Parties!

January has been an AWESOME month for Birthdays at Children's Art Studio. The studio has been busy nearly every weekend! :) Just wanted to share some photos/how-to's so you can have as much fun as we do. See below! XOXO- Anna


 Thanks to Andrea for having (little) Anna's Birthday with me! It was a fabulously artistic group of 9 kiddos that had some solid art time. We made fantastic flower collages on wood. Steps go like so:
  1. Get a piece of wood from Lowe's, I just have them cut a big board for me into 1 ft. pieces
  2. Kids use paint roller (little mini ones are perfect) and "roll" the edges of the wood to create a frame.
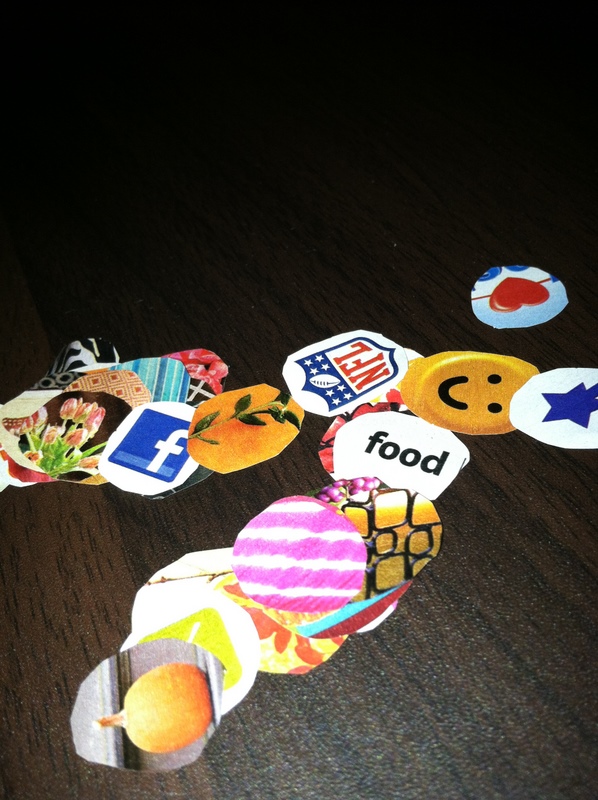
  3. Now, take newspaper pieces and draw different shapes to build your own flowers. (3 layers to make one flower)
  4. Circles on top of circles are a very easy route. 
  5. Cut out of newspaper.
  6. Watercolor these shapes/flowers.
  7. We used water/glue mixture to add strips of construction paper and/or magazine to the wood to create a textured background.
  8. Add stems with strips of green construction paper, glued down and added a button for the middle. :) 
  9. See how to hang the artwork here from a previous post.
  10. Done. All fantastically gorgeous.
____________________________________________________


Thanks to Tracy for having Collin's Birthday at CAS! Again, we had a whole lot of art time at this event, and kiddos even learned how to mix their own cement for a stepping stone. Collin LOVES Mario Brothers, so to start, we made a Piranha Plant Magnet coming out of a "pipe" (I said flower pot, and quickly Collin corrected that statement!)

To make your very own Piranha Plant Magnet:

1. Cut red card stock into a circle
2. Cut a triangle out of that circle for the mouth
3. Cut and attach green stem 
(we just used regular Elmer's Glue)
4. Make a green "tube" from card stock
5. Add white triangle teeth
6. We used a 1 inch circle punch to make the dots
7. Cut a strip of magnet and attach to back. 

To make your very own Stepping Stone:

1. Buy Quikrete (I'm biased, go to Lowe's)
2. Get a stick/spoon/bucket that you will dispose
3. Mix 2-1 part concrete to water and mix
4. Continue until you achieve a brownie-mix consistency
5. Pour into a pie tin (one dollar each at Deals$)
6. Decorate with any item except wood
7. We broke ceramic plates to use also...
8. Press items firmly into concrete.
9. Let dry for a few days and remove pie tin.
10. Set outside as a beautiful garden piece :)

____________________________________________________


Thanks to Ebony and for celebrating Laila's 4th Birthday with lots of friends and family! We were at our max with 30 people in the little studio space. Woo-hoo!


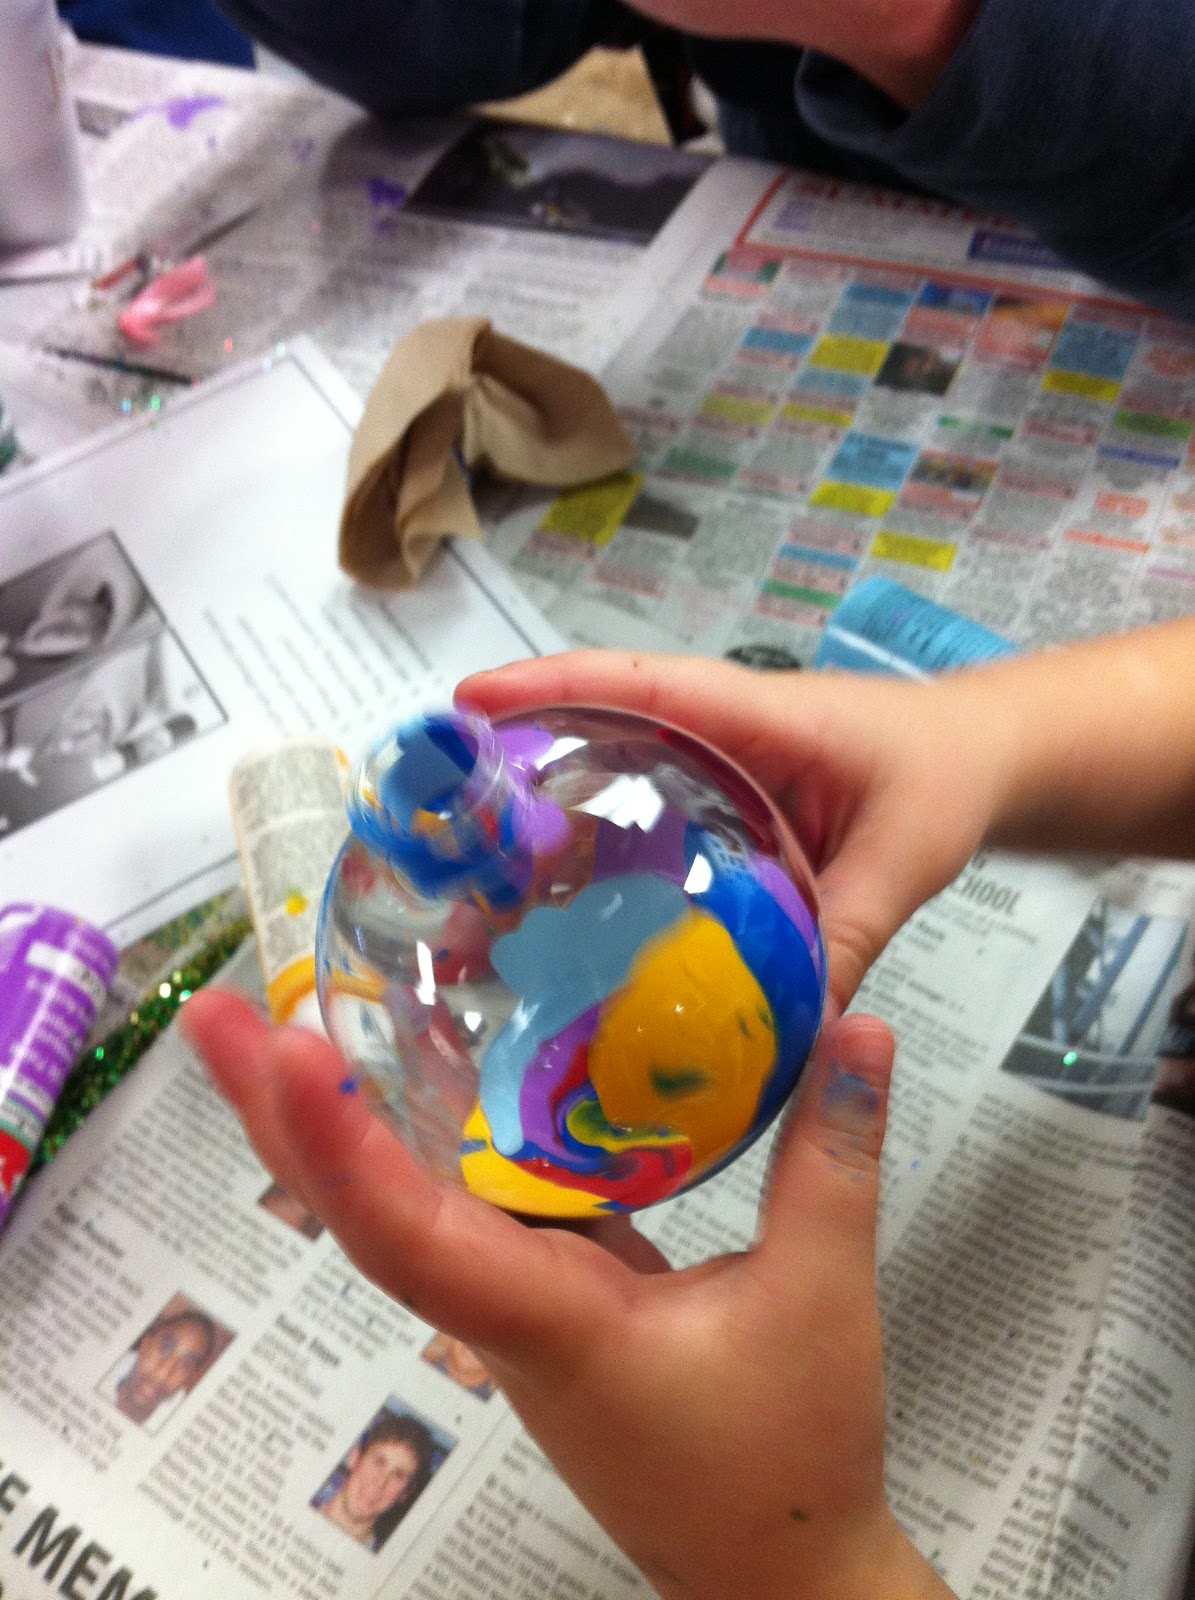
As you can see, we did some really pretty luminaries for this party. This is so very simple. 
  1. Get any old vase, candle holder, plate, votive - whatever you can find and add tissue paper.
  2. Water down some glue and add it to the vase before tearing tissue and attaching
  3. Add glue on top of the tissue and it will make it nice and smooth
  4. I don't have any finished products to show - I was far too busy to snap photos! So sorry
  5. We added gems, glitter, buttons, beads and ribbon to embellish.
  6. Don't forget to top off with a candle inside.


____________________________________________________

One last explanation - then go get busy. Thanks to Amanda for having Natalie's 5th Birthday at CAS. This was an awesome, organized, and very pleasant group of kiddos :)

  • We started with a piece of wood (I told you I love these wood projects!)
  • Painted. No rules.
  • Added little tissue paper squares and "wish" tickets for a little collage look
  • Then kiddos pounded in some nails - they seriously love this part (and parents are always impressed)
  • Last step was to add string/yarn to these nails and play "connect the dots" (or nails)
  • The hardest part for little fingers is to tie the string to the first and last nail, adults may have to help with this part


Amanda Hoy - thanks for this awesome picture. I will hire you one of these days :)

Wednesday, January 25, 2012

Finally, the Holiday Art Party Post!

Craftiness was at its prime on December 17th, 2011 at Children's Art Studio. 

Great friends, families, and supporters stopped in to spread a little crafty cheer and share local inspiration. See what awesome DIY projects you can achieve with tons of recycling, little to zero shopping, and most importantly, creativity. Enjoy, and please share!


  • The afternoon was free to attend, but I wanted to figure out another way to support local kids. Kids 'N Kamp was ideal. Donations to this awesome non-profit were gladly accepted.
  •  I found a great holiday punch on my Epicurious App. Cranberry juice, fresh orange and lime with a touch of grapefruit/mango juice was a kiddo favorite.


  • By far the most popular craft of the day, guests choose acrylic paint color and poured them in clear plastic ornaments! Added glitter and a ribbon when finished, these were gorgeous :) Thank you save on crafts!
  • Just one tip: when you get home, take the "cap" off the ornament and let dry before hanging on the Christmas tree, doorknob, etc.

  • Some unbelievable friends displayed their awesome handmade products. Maria makes beautiful jewelry with girly touches of flowers, leaves and bright pops of color. Want to see more of her product? Email me to get her information!


  • Joy to the World: easy, cute ornament.
  1. Trace a circle on watercolor paper.
  2. Paint with blues
  3. Add green landmasses with tissue paper and watered-down glue.
  4. Write JOY on a rectangle with sharpie.
  5. Glue JOY to a red piece of construction paper.
  6. Cut out world.
  7. Punch hole in top and bottom of JOY and top of world.
  8. Add string.
  9. Done! 

  • Above, Rachel of Artzymorena Designs sells these gorgeous hairpieces, headbands, clips, broaches and custom wedding pieces at her Etsy Shop too. You will love them - "vintage inspired. never tired."


  • The project above was another up-cylced creation. Simple, easy, not many supplies, and everyone had success! 
  • Elise Blaha at enJOY it creates inspiration and a fab tutorial image. 
  1. Cut a circle out of cardboard (a cereal box will do)
  2. Cut a whole in the circle so it looks like a doughnut. 
  3. Go through your scrap paper bin and old cardboard boxes to cut leaf shapes and build layers while adding glue to your doughnut. 
  4. Add buttons for flare
  5. Add a string or ribbon and hang. :) Love this.

  • Kris Misevski can take photos. I mean, really good ones. Get on it and own one already. Thanks for displaying for the Holiday Art Party, Kris!


  • I could never forget that this time of year is not just about Christmas trees and ornaments. I did try and keep every craft holiday friendly, but Christmas time always tends to outshine Hanukkah. Not today, though! These really cute hand-print menorahs turned out pretty well inspired by Little Learners Lounge.
  1. Glue a strip of construction paper to bottom of another piece of construction paper
  2. Paint hands as shown above - white candles and yellow flames :)
  3. Print only ONE thumb, there are only 9 Hanukkah candles! 
  4. Add glitter, decorations, whatever you like!


  • Just in case there were idol hands that needed a little something to play with, I whipped up some "no stove" playdough. Add a couple dashes of peppermint or cinnamon extract and it will smell for the occasion. 
  1. 4 cups flour
  2. 1 cup salt
  3. 4 tbsp oil
  4. 1 and 1/2 cup water
  5. Mix until pliable
  6. Supply cookie cutters and play on top of wax paper.


  • Another amazing local artist, Tia Christensen makes these awesome pillow monsters (with teeth!) and sweet little stuffed owls. Contact me to get more information!


  • Okay, the craft above includes paper towel rolls. But what I learned while prepping this project was that spray paint DOES NOT come off of your hands very easily (duh).
  • We made these cool little flowers with literally yarn and TP tubes. Check this tutorial out from MakingThisHome dot com.
  1. Paint (don't spray paint, it wasn't worth it and didn't stick very well) a paper tube
  2. Let dry
  3. Cut tube into smaller pieces like above
  4. Fold the cut tubes into a V shape and use yarn to string three of these folded Vs into a flower shape...this takes some practice, but you can't mess up, just take the yarn off and try again until you've got it right! (Sorry, it's not easy to write directions to this part, I tried.)  


  • One more handmade product to share. My home-made magnets :) 
  • See the tutorial and try at home!

Thanks to everyone who made Dec 17th, 2011 a fantastically crafty day and Children's Art Studio's First Annual Holiday Art Party. Looking forward to see what next year will bring...


xoxoxo, Anna